Background noise is the silent killer of audio quality. A perfectly scripted podcast, a carefully rehearsed voiceover, or an important video call can all be ruined by the hum of an air conditioner, the rumble of traffic outside, or the persistent hiss of a cheap microphone. The good news: most noise problems can be fixed after recording, and many can be prevented entirely with the right setup.
Why Background Noise Matters More Than You Think
Human hearing is remarkably sensitive to unwanted sound. Even low-level noise that you barely notice during recording becomes painfully obvious in the final product — especially when listeners use headphones. Background noise causes several concrete problems:
- Listener fatigue — constant low-frequency hum or hiss forces the brain to work harder to separate speech from noise, leading to disengagement after just a few minutes
- Reduced intelligibility — noise masks consonants and soft-spoken words, making it harder to understand what is being said
- Unprofessional perception — audiences associate clean audio with credibility and expertise; noisy recordings signal amateur production
- Platform rejection — audiobook platforms like ACX and podcast directories increasingly enforce noise floor requirements (typically below -60 dB)
Common Types of Background Noise
Understanding the type of noise you are dealing with is the first step toward removing it effectively. Different noise types require different treatment approaches.
Steady-state noise (continuous)
This is the easiest type to remove. It stays consistent over time, making it predictable for noise reduction algorithms.
- Electrical hiss — high-frequency noise from preamps, cheap audio interfaces, or long cable runs. Sounds like a constant "ssssss"
- Hum and buzz — 50 Hz or 60 Hz hum from power lines (depending on your country), ground loops, or electromagnetic interference
- Fan and AC noise — broadband noise from computer fans, air conditioning units, or heating systems
- Room tone — the ambient sound of any enclosed space, including reflections and resonances unique to the room
Intermittent noise (transient)
These come and go unpredictably, making automated removal more challenging.
- Keyboard and mouse clicks — sharp transients from typing during screen recordings or podcasts
- Traffic and construction — irregular rumbles, horns, and impacts that bleed through windows and walls
- People and pets — voices from adjacent rooms, footsteps overhead, barking dogs
- Phone notifications — buzzes and chimes that are easy to forget about before hitting record
How Noise Removal Actually Works
Behind every "remove noise" button is some form of signal processing. Understanding the main approaches helps you choose the right tool and settings for your situation.
Spectral subtraction
The classic approach. The algorithm analyzes a "noise profile" — a short segment of pure noise without any desired audio (like a pause between sentences). It then subtracts this noise fingerprint from the entire recording. This works well for steady-state noise but can introduce "musical artifacts" — strange metallic or bubbly sounds — if applied too aggressively.
Noise gates
A noise gate is a simple but effective tool: it silences audio that falls below a certain volume threshold. When you stop talking, the gate closes and mutes the background noise. When you start talking, the gate opens. Gates do not remove noise during speech — they only clean up the silent parts. Best used in combination with other methods.
Adaptive filtering
More sophisticated than spectral subtraction, adaptive filters continuously adjust their noise model in real time. They track how the noise changes over the course of a recording and adapt accordingly. This handles situations where the noise level fluctuates — like a fan that speeds up and slows down.
AI and machine learning denoising
The most advanced approach. Neural networks trained on thousands of hours of clean and noisy audio learn to separate speech from noise with remarkable precision. AI denoisers can handle complex, mixed noise environments that would stump traditional methods — like removing street noise from a phone call while preserving natural voice quality. This is the technology behind tools like the Timbrica audio denoiser.
Noise Profiles: The Foundation of Good Denoising
Many noise reduction tools ask you to select a "noise profile" or "noise sample." This is a critical step that directly affects the quality of your results.
How to capture a good noise profile:
- Find a section of your recording where only background noise is present — no speech, music, or other desired audio
- Select at least 1–2 seconds of this pure noise (longer is better, up to 5 seconds)
- Make sure the noise sample is representative — if the noise changes throughout the recording, sample from the noisiest section
- Avoid sections with transient sounds (clicks, pops, coughs) in your noise profile
A good noise profile lets the algorithm know exactly what to remove without touching the audio you want to keep. A bad profile leads to artifacts, muffled speech, or incomplete noise removal.
Step-by-Step: Removing Noise from Your Recording
Here is a practical workflow that works for most recordings:
- Listen first — put on headphones and listen to the entire recording. Identify the type of noise, where it is worst, and whether it changes over time
- Start gentle — apply noise reduction at a moderate setting first. It is always better to do two light passes than one heavy pass
- Check for artifacts — listen carefully after each pass for metallic sounds, "underwater" quality, or unnatural silences. These are signs of over-processing
- Layer your approach — combine a noise gate for silent sections with spectral denoising for the speech portions
- Enhance after denoising — once the noise is gone, use an audio enhancer to restore brightness and presence that may have been lost during noise removal
- Final check — listen on multiple devices (headphones, phone speaker, laptop) to make sure the result sounds natural everywhere
Prevention: Recording Clean Audio from the Start
The best noise removal is the noise you never record. These practices will dramatically reduce the amount of post-processing you need:
Environment
- Record in the quietest room available — interior rooms with no windows are ideal
- Turn off fans, air conditioning, and any appliances you can hear
- Close windows and doors; consider draft excluders for gaps under doors
- Put your phone on airplane mode and silence notifications on nearby devices
- Record at times when ambient noise is lowest (early morning, late evening)
Microphone technique
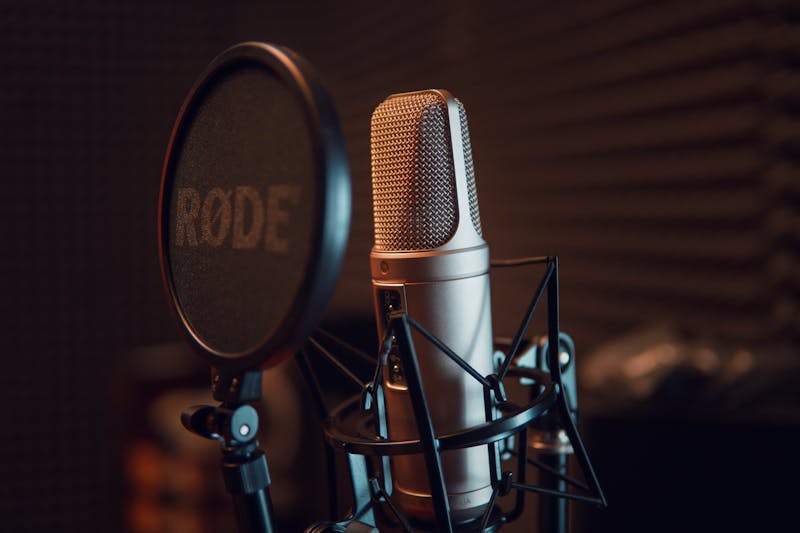
- Use a directional microphone (cardioid pattern) — it rejects sound from the sides and rear
- Position the mic 15–20 cm from your mouth for voice recordings
- Use a pop filter to reduce plosives (the "p" and "b" sounds that cause thumps)
- Mount the mic on a shock mount or boom arm to isolate it from desk vibrations
- Point the mic's rejection zone toward the loudest noise source
Signal chain
- Use the shortest cable runs possible to minimize electrical interference
- Keep audio cables away from power cables to avoid hum pickup
- Set your gain correctly — too low forces you to amplify noise later; too high causes clipping
- Record at 24-bit depth for maximum dynamic range and lower noise floor
When to Denoise vs. When to Re-Record
Noise removal has limits. Here is a practical guide for deciding whether to fix it in post or start over:
| Situation | Fix in post? | Why |
|---|---|---|
| Steady hiss or hum | Yes | Consistent noise is easy for algorithms to model and remove |
| Light fan or AC noise | Yes | Broadband but steady — good denoiser handles this cleanly |
| Occasional car passing | Maybe | Depends on overlap with speech; AI tools handle this better than traditional methods |
| Loud music or TV in background | Unlikely | Structured audio mixed with speech is extremely hard to separate cleanly |
| Severe clipping or distortion | No | Clipped audio is permanently damaged — no algorithm can reconstruct it. An audio enhancement tool may help with mild cases |
Tools for Different Noise Problems
Matching the right tool to your specific problem saves time and produces better results:
- General noise removal — an AI-powered denoiser handles most common scenarios: hiss, hum, fan noise, and room ambience
- Damaged or degraded speech — an audio enhancer can recover clarity from recordings with multiple overlapping issues
- Post-cleanup polish — an audio enhancer restores the warmth and presence that aggressive denoising can strip away
- Voice clarity — a voice enhancer specifically targets vocal frequencies to improve intelligibility
- Testing your setup — use a microphone noise test before recording to check your noise floor and identify problems early
Pro tip: Always keep your original recording before applying any noise reduction. Denoising is destructive — you cannot undo it once saved. Work on a copy, and archive the raw file in case you need to reprocess it later with better tools or settings.